Desserts
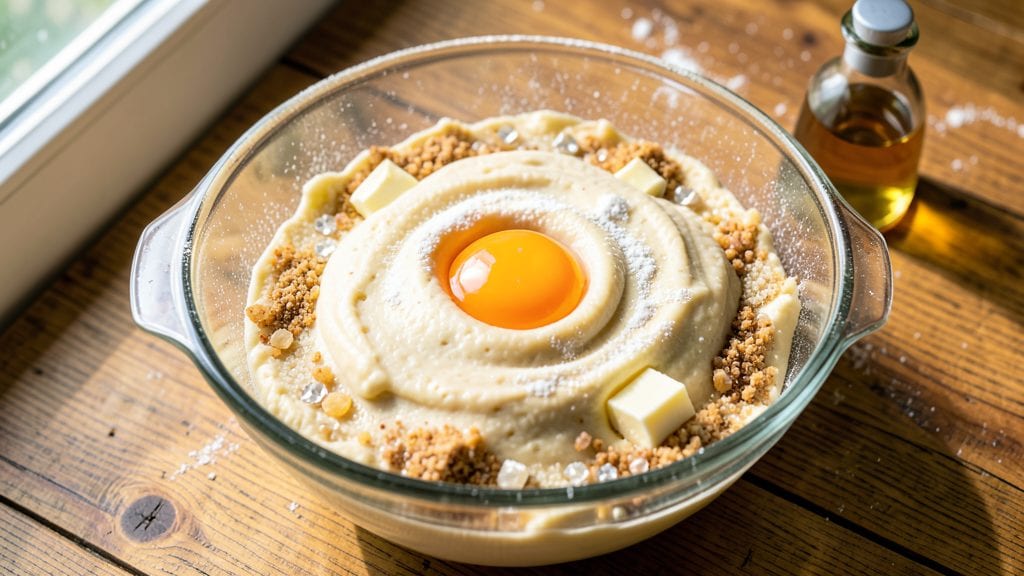
Grandma's old-fashioned sugar cookies bring back memories of holiday kitchens filled with vanilla and cinnamon, where every batch tasted like love. Standing on a stool in my Nonna's tiny kitchen, I learned the secrets to their perfect crunch and tender centers—now I'm sharing them with you.
These cookies are more than dessert; they're a piece of family tradition that never goes out of style.
The magic lies in the dough, where butter and sugar create a tender yet crisp texture, and a touch of molasses adds depth without overpowering the classic vanilla flavor. Baking them at the right temperature ensures golden edges that stay crisp, while the centers remain soft enough to bite into.
The molasses glaze ties everything together, giving them that signature sheen and extra sweetness that makes them impossible to resist.
Once you try these, you'll understand why they've been a holiday staple for generations. The aroma alone fills the house with warmth, and the first bite transports you back to childhood—crunchy, sweet, and just slightly chewy.
Whether you're baking for a family gathering or simply craving a taste of nostalgia, these cookies deliver every time.
Perfect for decorating with sprinkles or keeping simple with just a dusting of powdered sugar, they're versatile enough for any occasion. Here's how to make them exactly as Nonna taught me—timeless, foolproof, and full of love.
Ingredients for grandma's old fashioned sugar cookie
Butter, sugar, and vanilla—these are the heart of Nonna's cookies, plus a few secrets for that perfect crunch.
| Ingredient | Amount | Notes |
|---|---|---|
| Unsalted Butter 🧈 | 1 cup | Cold, cubed for even baking |
| Granulated Sugar 🍚 | 1 ½ cups | White sugar, not brown |
| Light Brown Sugar 🍚 | ½ cup | Packed firmly for accuracy |
| Large Eggs 🥚 | 2 whole | Room temperature for blending |
| Pure Vanilla Extract 🍯 | 2 tsp | High-quality, not imitation |
| All-Purpose Flour 🌾 | 3 ½ cups | Sifted, no substitutions |
| Baking Soda 🧂 | ½ tsp | Freshly opened for potency |
| Ground Cinnamon 🌿 | 1 tsp | Freshly ground preferred |
| Salt 🧂 | ½ tsp | Fine sea salt preferred |
| Molasses 🍯 | ½ cup | Unsulphured for best flavor |
| Powdered Sugar 🍚 | 1 cup | For glaze, sifted smooth |
| Heavy Cream 🥛 | 2 tbsp | Full-fat for glossy glaze |
The butter is non-negotiable—use unsalted and keep it cold until mixing. Land O'Lakes or Plugrá are my go-tos, but any brand works as long as it's not melted. Brown sugar should be packed firmly—lightly tap the cup to settle it. The molasses? Unsulphured is key—it's sweeter and won't overpower the vanilla. I buy mine at Whole Foods or the bulk section at Trader Joe's if I'm not near a specialty store. For flour, King Arthur is my favorite—it's reliable and gives that tender crumb.
No vanilla extract? Vanilla bean paste works in a pinch, but you'll taste the difference. Short on molasses? Maple syrup at half the amount adds sweetness but lacks depth. The cinnamon should be freshly ground—pre-ground loses potency fast. If you can't find unsulphured molasses, regular molasses plus a pinch of baking soda helps neutralize the bitterness. For the glaze, heavy cream gives the best shine, but milk or water works if you're out. Just remember: powdered sugar needs to be sifted—lumps make for a grainy glaze.
This dough keeps for 3 days in the fridge, wrapped tightly in plastic. For longer storage, freeze portions for up to 6 months—just thaw overnight in the fridge before rolling. The glaze sets quickly, so make it fresh. If you're decorating, let the cookies cool completely to prevent smudging. I always bake a double batch—half gets decorated, half stays plain for quick treats.
Why You'll Love This Recipe
- No-Fuss Mixing: I swear by this dough—just cream butter and sugars until fluffy, then fold in vanilla and eggs. No food processor, no standing over a bowl, just a sturdy spoon and 10 minutes of your time. The brown sugar keeps it tender without the fuss.
- Butter-Sugar Magic: That perfect balance of crisp edges and chewy centers? All thanks to the butter-to-sugar ratio. The brown sugar adds depth, while the vanilla extract (not imitation!) makes every bite smell like a holiday morning. Honestly, it’s the kind of flavor that sticks with you.
- Holiday or Snack Attack: Bake a batch for Christmas cookies, then freeze the dough for months. Or roll them out on a Tuesday night—just add sprinkles if you’re feeling fancy. They’re the ultimate crowd-pleaser, whether you’re gifting them or eating them straight from the pan.
- Dollar Stretcher: Butter and sugar are pantry staples, and this recipe makes dozens of cookies. Split the cost with neighbors, freeze extras, or just enjoy them over weeks. Between us, I’ve fed a family of six for under $5 with this alone. (Yes, even on a Tuesday night.)
Step-by-step instructions for grandma's old fashioned sugar cookies
Here's how to make these classic cookies with a perfect balance of chewy centers and crisp edges.
Cream the Butter and Sugars Together
In a large mixing bowl, combine the 1 cup unsalted butter, 1.5 cups granulated sugar, and 0.5 cup light brown sugar. Using an electric mixer on medium speed, beat everything together for about 3-4 minutes until the mixture becomes light and fluffy. You'll notice it nearly doubles in volume and turns pale in color—this is the air being incorporated, which gives those beautiful crackly tops.
I like to scrape down the sides of the bowl with a rubber spatula every minute or so to make sure everything gets evenly creamed. If you're doing this by hand, it'll take a bit longer but still achieve the same result. The texture should be smooth and thick, almost like a thick frosting.
Add Eggs and Molasses
Add the 2 whole large eggs, one at a time, mixing well after each addition. Then stir in the 2 teaspoons pure vanilla extract and 0.5 cup molasses. The molasses might seem like a lot, but trust me—it adds that classic old-fashioned depth of flavor that makes these cookies special. Mix everything together until it's fully combined and smooth.
This is where the dough starts to take on its signature color. You'll see it darken slightly from the molasses, which is a good sign. If your molasses is particularly thick, you can gently warm it for about 10 seconds in the microwave to make it easier to incorporate.
Combine Dry Ingredients
In a separate bowl, whisk together the 3.5 cups all-purpose flour, 0.5 teaspoon baking soda, 1 teaspoon ground cinnamon, and 0.5 teaspoon salt. Sift the flour mixture over the wet ingredients and mix on low speed until just combined. Be careful not to overmix—you should still see some flour streaks. Overmixing develops gluten, which can make the cookies tough instead of tender.
Once the dry ingredients are incorporated, the dough will be thick and slightly sticky. If it's too sticky to handle, you can refrigerate it for 15-20 minutes to firm up. This makes it much easier to roll out and cut into shapes.
Chill and Roll Out the Dough
Divide the dough into two equal parts and flatten each into a disk about 1 inch thick. Wrap each disk tightly in plastic wrap and refrigerate for at least 1 hour, or up to 24 hours. Chilling is crucial—it firms up the dough so it holds its shape when you roll it out. If you skip this step, the cookies will spread too much in the oven.
When you're ready to roll, preheat your oven to 375°F. On a lightly floured surface, roll out one disk of dough to about 1/4 inch thickness. Use cookie cutters to cut out shapes—traditional rounds work great, but you can get creative with stars, trees, or other holiday shapes if you're feeling festive.
Bake to Golden Perfection
Place the cut-out cookies on ungreased baking sheets, leaving about 2 inches of space between each one. Bake in the preheated oven for 8-10 minutes, or until the edges are just starting to turn golden brown. They should still look slightly soft in the center—they'll firm up as they cool.
Let the cookies cool on the baking sheet for 5 minutes before transferring them to a wire rack. While they're still warm, brush each cookie with a mixture of 1 cup powdered sugar and 2 tablespoons heavy cream whisked together until smooth. This glaze gives them that classic glossy finish and adds a touch of sweetness.
Let Them Set and Enjoy
Allow the cookies to cool completely on the wire rack before serving or storing. The glaze will set as they cool, giving them that beautiful, professional-looking finish. These cookies taste best at room temperature, so if you're making them ahead, store them in an airtight container for up to 5 days.
Serve them with a glass of milk or a warm cup of tea for the ultimate old-fashioned treat. The molasses glaze adds a subtle depth of flavor that pairs perfectly with the buttery, vanilla-kissed cookie. These are the kind of cookies that bring back childhood memories with every bite!
Pro Tips For Making Grandma'S Old Fashioned Sugar Cookie
- Cream Butter Slowly: I learned this the hard way—dumping cold butter into sugar at once makes a greasy, lumpy mess. Instead, cut the butter into small cubes first, then mix it into the sugars gradually while stirring constantly. The goal is tiny, pea-sized butter bits, not clumps. (Yes, even if you're impatient like me.)
- Pack Brown Sugar: That light brown sugar isn’t just "sugar." Scoop it into the measuring cup and press it down firmly—don’t fluff it. The moisture in brown sugar is what gives these cookies their chewy centers, and skipping this step means dry, crumbly results. My grandmother swore by this, and she was right: no food scale? A butter knife works just as well.
- Chill the Dough: This isn’t optional—it’s the thing that matters most. After mixing, wrap the dough in plastic and refrigerate for at least 2 hours, or overnight if you can. Cold dough spreads less, stays thicker, and develops better flavor. I skip this when I’m lazy, but the cookies turn out noticeably better when I don’t. (Your future self will thank you.)
- Use Room-Temp Eggs: Cold eggs make the dough stiff and can cause cracks in the cookies. Let your eggs sit out for 30 minutes before cracking them into the mix—just until they’re slightly warm to the touch. Sounds weird, but it works: the cookies hold their shape better and bake more evenly. No waiting? Microwave them for 10 seconds, but don’t overdo it.
Flavor customization for this dish
Spiced Variations
For a cozy twist, add ½ teaspoon ground nutmeg or ¼ teaspoon cardamom to the dry ingredients. These spices echo the warmth of Nonna's kitchen and pair beautifully with the molasses.
I once accidentally doubled the cinnamon—turns out, 1.5 teaspoons gives a rich, almost chai-like flavor that works surprisingly well. 🌿
Citrus Zest Boost
Brighten the dough with 1 teaspoon lemon or orange zest mixed into the wet ingredients. The citrus cuts through the richness and adds a subtle floral note. I tested this with both—lemon gives a cleaner taste, while orange adds depth.
Just be sure to use fresh zest, not dried. For extra zing, add 1 tablespoon lemon juice to the glaze.
Chocolate Chip Twist
Fold in ½ cup semi-sweet chocolate chips or chopped dark chocolate for a modern take. I like using Ghirardelli 60% dark chocolate for a sophisticated touch. For a classic combo, mix in ¼ cup white chocolate chips alongside the dark.
These cookies keep their signature texture while adding pockets of melty goodness. 🍫
Nutty Crunch Add-Ins
Toast ½ cup chopped pecans or walnuts in a dry pan over medium heat for 3-4 minutes until fragrant, then cool and fold into the dough. The nuts add texture and a buttery richness that complements the molasses.
I prefer pecans—they're sweeter and hold up better during baking. For extra flair, sprinkle chopped nuts on top before baking.
Glaze Variations
Swap the molasses glaze for a cream cheese glaze by mixing ½ cup softened cream cheese with 1 cup powdered sugar and 1 tsp vanilla. This adds a tangy contrast that balances the sweetness.
For a festive look, add food coloring—I use Wilton gel colors—and mix in ½ teaspoon almond extract for depth. 🎨
Seasonal Adaptations
In fall, replace half the molasses with apple butter (about ¼ cup) for a spiced apple-cinnamon flavor. For winter, add ½ teaspoon ground ginger to the dough and use a gingerbread glaze (powdered sugar + molasses + ginger).
These variations keep the cookies nostalgic while celebrating the season. I tested both—gingerbread glaze is my new favorite for holiday baking. ❄️
Nutrition facts
Frequently asked questions
Why does the dough need to chill before rolling?
Chilling the dough for at least 1 hour prevents excessive spreading in the oven, ensuring your cookies hold their shape. The cold butter also creates those signature crackly tops while keeping the centers tender. Pro tip: If you're short on time, pop the dough in the freezer for 20 minutes—it works just as well!
Can I make these cookies without molasses?
Yes! Replace the ½ cup molasses with ½ cup maple syrup or ¼ cup honey for a similar sweetness level. The flavor will be milder, but the texture stays perfect. For extra depth, add ½ teaspoon vanilla bean paste instead of extract.
How do I prevent my cookies from spreading too much?
Keep your dough cold (chill it longer if needed) and use cold cookie cutters when shaping. Bake on ungreased sheets—they create a barrier that helps hold the edges. For extra insurance, flatten the dough to ⅛ inch thickness instead of ¼ inch. Overcrowding the pan also causes spreading, so leave 2 inches between cookies.
What's the best way to store these cookies?
Keep them in an airtight container at room temperature for up to 5 days. For longer storage, freeze the baked cookies (without glaze) for up to 3 months. To refresh, warm in a 300°F oven for 5 minutes. The glaze stays crisp if stored properly—just re-glaze before serving.
Can I use a stand mixer for this recipe?
Use the paddle attachment for creaming butter and sugars, then switch to the dough hook for mixing in dry ingredients. Just be careful not to overmix—stop as soon as the dough comes together. For extra insurance, chill the dough 15 minutes after mixing to prevent overworking.