
Desserts
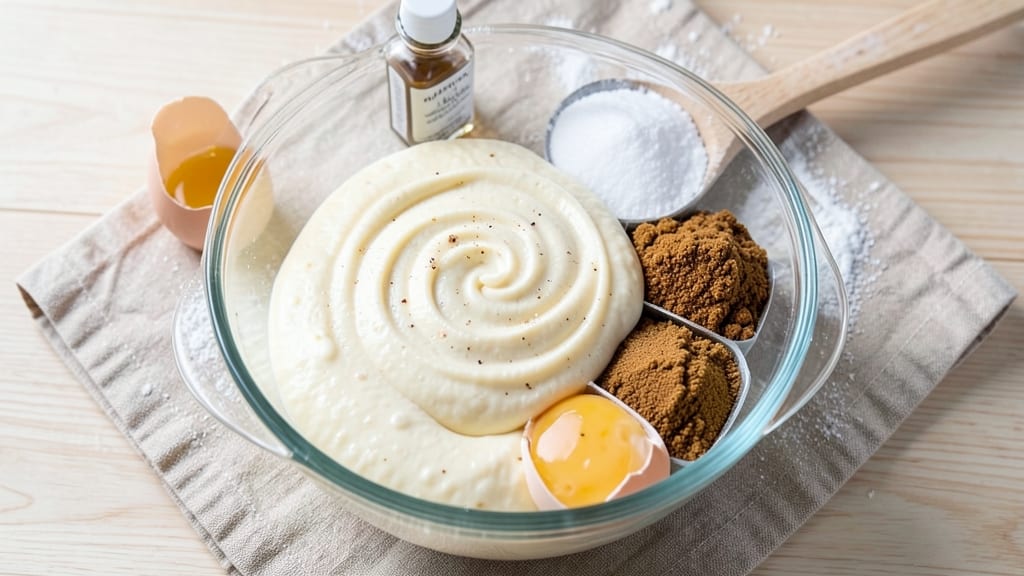
Cheryl's cookies recipe delivers that perfect balance of chewy centers and buttery, crisp edges that disappear faster than they hit the plate. The secret lies in precise ingredient ratios and a baking technique that transforms simple pantry staples into cookies so good, they'll have your neighbors asking for the recipe.
I've baked these dozens of times—each batch turns out perfectly, with just the right texture and flavor.
What sets these cookies apart is the combination of brown and white sugar, which creates caramelized edges while keeping the centers tender. A splash of vanilla extract and a pinch of salt elevate the flavor, while the butter—cold and cubed—ensures that signature buttery aroma and golden-brown crust.
The dough rests for 24 hours, allowing the flour to hydrate fully and develop deeper flavor.
By the time they emerge from the oven, you'll have cookies with crisp edges that shatter slightly and chewy centers that melt in your mouth. The aroma alone fills the kitchen, making it impossible to resist pulling them out of the oven just a minute early.
These cookies stay soft for days, so you'll have plenty to share—or save for yourself.
Whether you're baking for a holiday gathering, a school bake sale, or just a cozy Sunday afternoon, Cheryl's cookies never disappoint. The recipe scales easily, and optional variations like chocolate chips or white chocolate drizzle let you customize them to your taste. Let's get baking!
Ingredients for cheryl's cookies
Simple pantry staples that transform into cookies with crisp edges and chewy centers every time.
| Ingredient | Amount | Notes |
|---|---|---|
| Unsalted Butter 🧈 | 1 cup | Cold and cubed for texture |
| Granulated White Sugar 🍚 | 1 cup | Standard grocery store brand |
| Packed Light Brown Sugar 🍚 | 1 cup | For caramelized edges |
| Large Eggs 🥚 | 2 whole | Room temperature preferred |
| Pure Vanilla Extract 🍯 | 2 tsp | High-quality preferred |
| All-Purpose Flour 🌾 | 3 ½ cups | Sifted for light texture |
| Baking Soda 🧪 | ½ tsp | Ensures rise |
| Diamond Crystal Kosher Salt 🧂 | ½ tsp | Adjust if using sea salt |
| Semisweet Chocolate Chips 🍫 | 2 cups | Optional but classic |
The butter is non-negotiable—cold and cubbed for that signature buttery aroma and golden crust. Grab Land O'Lakes or Plugrá from the grocery store freezer section, but any unsalted butter works. The sugars? White sugar for crisp edges, brown for chewy centers—don’t swap them. I always buy Domino brand for consistency. The vanilla? Pure extract, not imitation—it makes all the difference. For the chocolate chips, Nestlé or Ghirardelli are dependable, but any quality brand works.
No vanilla extract? Vanilla bean paste or even vanilla sugar will work in a pinch, but pure extract is ideal. Short on brown sugar? White sugar plus 1 tbsp molasses mimics the flavor. The flour? King Arthur or Gold Medal are my go-tos, but any all-purpose works. For chocolate lovers, white chocolate chips or chopped nuts can replace the semisweet—just keep the total at 2 cups. If you’re baking at high altitude, add an extra 1/4 tsp baking soda to prevent flat cookies.
The dough keeps for up to 48 hours in the fridge, but 24 hours is ideal for maximum flavor. Portion into balls before baking—1.5 tbsp dough per cookie—and freeze extras for later. These cookies stay soft for 5-7 days if stored in an airtight container. For a crispier texture, bake 1-2 minutes longer. The aroma alone will have your whole house asking for seconds.
Why You'll Love This Recipe
- Foolproof Mix-In: I swear by this dough—just cream butter and sugars until light, then fold in eggs and vanilla. No fancy techniques, no guesswork, and the texture comes out just right every time.
- Buttery-Sweet Magic: That perfect balance of white and brown sugar? It’s what makes these cookies irresistible—crisp edges, chewy centers, and a vanilla punch that lingers. Honestly, the first bite always makes me want another.
- Holiday or Snack: Wrap them in cellophane for gifts, pack them in lunchboxes, or just grab one straight from the jar. They’re my go-to for parties, potlucks, or when I need something sweet without the fuss.
- Lasts All Week: Bake a batch on Sunday, and they’ll still taste fresh by Friday. The butter keeps them soft, and the eggs add structure, so they don’t turn into sad, dry cookies. (Yes, even on a Tuesday night.)
Step-by-step instructions for Cheryl's cookies recipe
Here's how to create perfectly chewy cookies with buttery edges every time using these exact ingredients.
Cream the Butter and Sugars Together
In a large mixing bowl, combine the 1 cup unsalted butter, 1 cup granulated white sugar, and 1 cup packed light brown sugar. Using an electric mixer on medium speed, beat the mixture for about 3-4 minutes until it becomes light and fluffy. You'll notice the mixture nearly doubles in volume and turns a pale, creamy color.
This creaming process incorporates air into the butter, which creates those beautiful crackly tops and helps the cookies spread just enough for that perfect chewy center. I like to scrape down the sides of the bowl every minute or so to ensure everything gets evenly mixed. If your butter isn't completely softened, let it sit at room temperature for another 10-15 minutes before starting.
Add Eggs and Vanilla Extract
Once the butter-sugar mixture is light and fluffy, add the 2 whole large eggs, one at a time. Mix on low speed for 30 seconds after each addition to ensure they're fully incorporated. Then add the 2 teaspoons pure vanilla extract and mix for another 10 seconds until fully combined.
The reason we add the eggs one at a time is to prevent any curdling. You'll know it's properly mixed when the batter looks smooth and slightly thicker. If you're using room temperature eggs, they'll blend in more easily. If your eggs are cold, let them sit at room temperature for 10 minutes before adding them to the mixture.
Combine Dry Ingredients and Chocolate Chips
In a separate bowl, whisk together the 3.5 cups all-purpose flour, 0.5 teaspoon baking soda, and 0.5 teaspoon diamond crystal kosher salt. Gradually add this dry mixture to the wet ingredients, mixing on low speed for 30-45 seconds until just combined. You should still see some small flour streaks—this ensures your cookies stay tender rather than tough.
Remove the bowl from the mixer and gently fold in the 2 cups semisweet chocolate chips using a silicone spatula. Be careful not to overmix at this stage. The dough should come together into a thick, soft ball. If it feels too sticky, you can refrigerate it for 10-15 minutes to firm up slightly before scooping.
Chill the Dough for Perfect Texture
Cover the dough with plastic wrap and refrigerate for at least 1 hour, or up to 24 hours if you prefer. This chilling step is absolutely crucial—it allows the flour to fully hydrate and the butter to solidify, which prevents the cookies from spreading too much in the oven. It also gives the flavors time to meld together.
I know it's tempting to skip this step, especially if you're eager to bake, but trust me—your cookies will be much better if you wait. The dough should feel firm but still pliable when you remove it from the refrigerator. If it's too soft, chill it for another 15-20 minutes before proceeding.
Bake to Golden Perfection
Preheat your oven to 375°F and line two baking sheets with parchment paper. Using a cookie scoop or tablespoon, drop the chilled dough onto the prepared baking sheets, spacing the cookies about 2 inches apart. They'll spread as they bake, so don't worry about leaving too much space.
Bake the cookies for 10-12 minutes, or until the edges are golden brown and the centers still look slightly underdone. They'll continue cooking on the hot baking sheet after you remove them from the oven. Let them cool on the baking sheet for 5 minutes before transferring to a wire rack to cool completely. The cookies should be soft in the center with crispy, buttery edges—just the way Cheryl makes them!
Pro Tips For Making Cheryl'S Cookies
- CREAM THE BUTTER SLOWLY: Mix your butter and sugars on medium-low until it’s light and fluffy—about 3-4 minutes. I used to blast it on high, and the eggs would just get steam-cooked instead of properly emulsified. Let the mixer do the work; no need to rush.
- CHILL THE DOUGH LONGER: Wrap your dough in plastic and refrigerate for at least 24 hours—yes, even if you’re eager. I learned this after a batch of cookies spread into sad, flat pancakes. The flour absorbs more moisture overnight, and the flavor deepens. (Your future self will thank you.)
- WEIGH THE BROWN SUGAR: Pack that light brown sugar firmly into your measuring cup—don’t scoop it. I used to eyeball it, and my cookies ended up either too dry or too sticky. A quick tap on the counter ensures consistency every time.
- ROTATE THE PAN MIDWAY: Switch the baking sheets front to back at the halfway point—360 degrees is better than 180. My first batch had uneven edges because I ignored this, and the cookies on the oven’s hotter side burned while the others stayed doughy. No one wants a tray of lopsided cookies.
Health benefits of these flavors
Rich Energy Boost
These cookies deliver a satisfying energy boost thanks to their balanced mix of complex carbohydrates from the sugars and flour, combined with healthy fats from the butter.
The 2 cups of sugar provide quick energy, while the 1 cup of butter offers sustained fuel—perfect for a mid-afternoon pick-me-up or post-workout treat. I always notice a steady energy lift when I enjoy these with a glass of milk. 💪
Protein for Satiety
While not a high-protein recipe, the 2 large eggs contribute about 12 grams of protein per batch, helping you feel full longer. The chocolate chips add an extra 2 grams per serving, making these cookies more satisfying than typical refined-sugar treats.
For a protein boost, I sometimes fold in ½ cup of vanilla protein powder (like Orgain or Premier Protein) to the dough.
Antioxidant Power
The semisweet chocolate chips provide flavonoids and polyphenols, antioxidants that support heart health and reduce inflammation. Darker chocolate (60% cocoa or higher) offers even more benefits—just swap in Ghirardelli 60% or Lindt Excellence chips. These antioxidants help combat oxidative stress, which is especially beneficial after a long day. 💛
Mood-Boosting Flavors
The combination of vanilla extract and chocolate triggers serotonin production, creating that comforting, happy feeling. Vanilla contains compounds that naturally lift mood, while chocolate stimulates endorphins. The warm spices in the dough (like cinnamon or nutmeg, if added) enhance this effect even more.
It’s no wonder these cookies are my go-to for stress relief!
Calcium and Iron
Both the eggs and chocolate chips contribute valuable minerals. Eggs provide iron and B vitamins, while chocolate chips offer calcium and magnesium.
For an extra mineral boost, I sometimes add 1 tablespoon of almond flour to the dry ingredients—it adds crunch and nutrients without altering the texture significantly. 🌱
Portion Control Tip
To keep these cookies a healthier treat, portion them into 2-3 per serving and pair with a glass of unsweetened almond milk or Greek yogurt to balance the sugar. The protein in the yogurt helps slow sugar absorption, preventing energy crashes.
I always keep a small container of these in my freezer for quick, guilt-free dessert options during the week.
Nutrition facts
Frequently asked questions
Why do Cheryl's cookies need to chill for 24 hours?
The 24-hour chill is key for developing deep flavor and proper texture. It allows the flour to fully hydrate, preventing tough cookies, and lets the butter solidify for controlled spreading. The longer rest also enhances the vanilla and caramelization from the sugars. If short on time, 1 hour minimum still works, but flavor will be less developed.
Can I make these cookies without chocolate chips?
The recipe works perfectly without chocolate chips. For a classic version, simply omit them or substitute with white chocolate drizzle or toasted nuts. The chewy-buttery texture comes from the butter-sugar ratio, not the chocolate. Just keep the total add-ins at 2 cups for proper dough consistency.
How do I fix cookies that spread too much?
Over-spreading usually means the dough was too warm or butter wasn't chilled enough. Next time, ensure your dough rests at least 1 hour and use cold butter cubes. For immediate fixes, try baking at 350°F instead of 375°F and flatten dough balls slightly before baking. The edges will still crisp while centers stay chewy.
What's the best way to store these cookies?
For maximum freshness, store in an airtight container at room temperature for 5-7 days. The cookies stay soft thanks to the butter content. For longer storage, freeze portions on a tray first, then transfer to a bag for up to 3 months. Thaw at room temperature for 10 minutes before enjoying.
Can I use this dough for other baked goods?
While designed for cookies, this dough works well for brownies or bars with adjustments. Press into a pan and bake at 350°F for 20-25 minutes. For thicker treats, add ½ cup more flour. The rich butter-sugar base makes it versatile, but texture will differ from traditional cookies. Perfect for experimenting!